
 en
en
 CHAT WITH GODLIKE TEAM


How to see chunk borders in Minecraft

- 4 min read
- 1 views
- 0 likes
Minecraft Chunks
In the vast sandbox world of Minecraft server hosting, the terrain might seem endless and randomly generated — but behind the scenes, it’s all carefully structured into segments called chunks. And for players running their adventures on bmc4 server hosting, mastering chunk borders can also help optimize performance and build smoother, lag-free worlds. Understanding these invisible borders can make a significant difference in your gameplay, from building and mining to managing mobs and improving performance.
TIP
What Are Chunks?
Chunks are the core building blocks of the Minecraft world. Each one is a 16 by 16 block section that stretches vertically from the bottom of the world to the sky limit. The game loads and unloads these chunks dynamically as you move around, which helps keep things running smoothly.
Chunks affect nearly everything — mob spawning, redstone mechanics, and even terrain generation. That’s why recognizing where one chunk ends and another begins can give you a major advantage.
How to See Chunk Borders in Java Edition
If you’re playing the Java Edition of Minecraft, revealing chunk borders is quick and easy thanks to built-in tools.
-
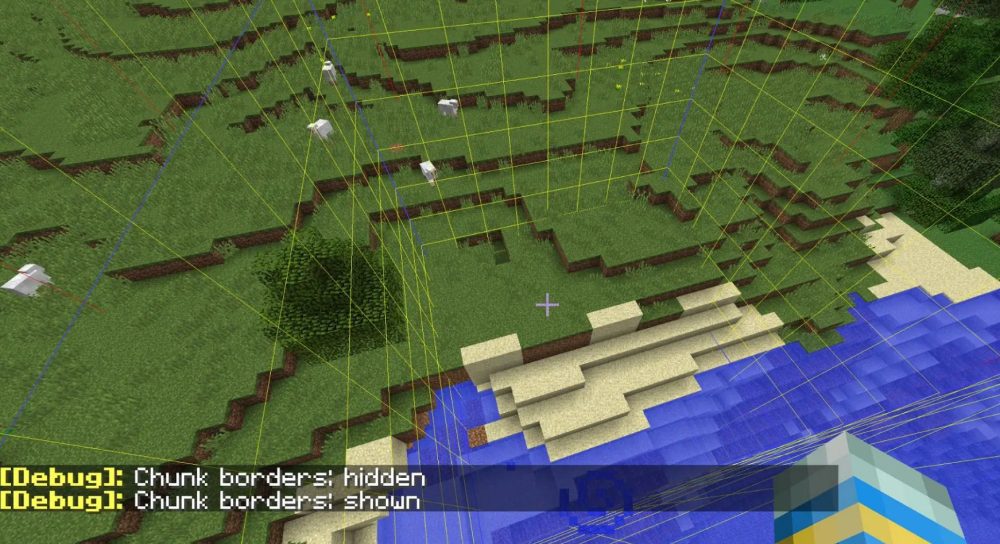
Open the debug overlay by pressing the
F3key. This brings up a detailed view of your current game data. -
Press
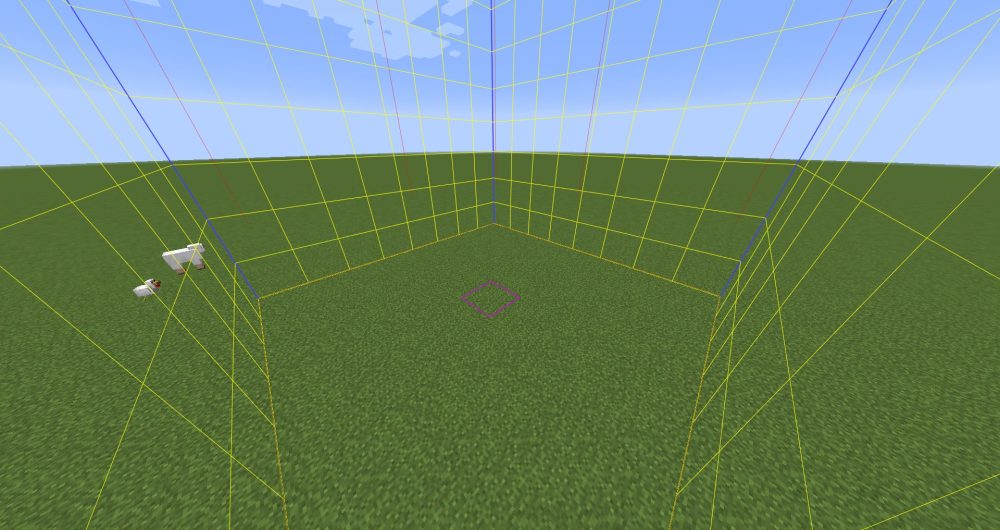
F3 + Gto toggle chunk border outlines. A colored grid will appear, showing you exactly where chunks begin and end.
This grid moves with you, making it a handy tool for keeping track of chunk positions as you build or explore.
What About Bedrock Edition?
In the Bedrock version, chunk borders aren’t built into the game in the same way, but you can still figure them out with a little effort.
-
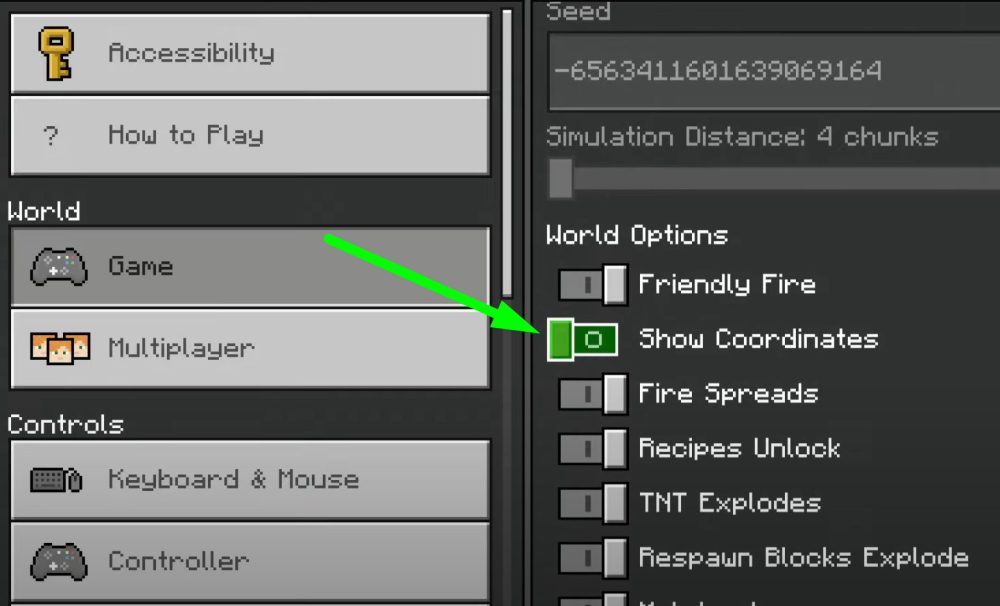
Enable coordinates in the settings to track your position.
TIP
-
Since chunks are 16 blocks wide, a chunk border exists every time your X or Z coordinate is divisible by 16. By doing a little math, you can determine where you are within a chunk.
For more visual players, there are community-created tools and add-ons that can help show chunk lines directly in the game. These range from texture packs to external applications that map out your world based on the seed.
Why Chunk Borders Matter
Understanding chunk borders opens up a range of strategic advantages:
-
More efficient builds: Staying within chunk boundaries can reduce lag and prevent redstone circuits from breaking across chunk loads.
-
Better mob farms: Mob spawning mechanics are chunk-dependent, so farms work best when placed with chunk layout in mind.
-
Resource hunting: Some blocks and mobs only appear in specific chunks — knowing where to look can save a lot of time.
Whether you’re a casual builder or a redstone engineer, mastering the concept of chunks adds a new layer of precision to your gameplay. It’s one of those behind-the-scenes mechanics that, once you understand it, changes the way you approach the entire game.
Result
To see chunk borders in Minecraft Java Edition, press F3 + G — this shows a visible grid outlining each chunk. In Bedrock Edition, enable coordinates and look for positions where the X and Z values are divisible by 16 — that's where chunk borders are.
Enjoyed reading this guide? Check out our Blog section to discover even more fascinating insights about your favorite games! Play together with GODLIKE.
Read Next
-
Copper Golem in Minecraft (2025): Status, Mods, Oxidation, Statue Build & FAQ
TL;DR There is no copper golem in vanilla Minecraft server hosting (Java or Bedrock) as of 2025. It was a Mob Vote 2021 candidate and didn’t make it into the base game. You can still use…
-
Minecraft Mods (1.21): Best Mods, Modpacks, and How to Install (Fabric, Forge, NeoForge)
TL;DR In Minecraft server hosting Java mods are .jar files loaded by Fabric, NeoForge (modern Forge fork), Forge, or Quilt. Put the mod in the /mods folder for the chosen profile. Minecraft: Java Edition is…
-
Smithing Table in Minecraft (1.21+): Recipe, Uses, Templates & Toolsmith Guide
TL;DR In Minecraft server hosting, the block’s core purpose is upgrading gear via smithing templates not repairing. The crafting recipe is simple: two iron ingots plus four planks of any wood. What it is: a…


