
 en
en
 CHAT WITH GODLIKE TEAM


Resource Guide for Manor Lords

- 4 min read
- 1 views
- 1 likes
Resource Gathering in Manor Lords
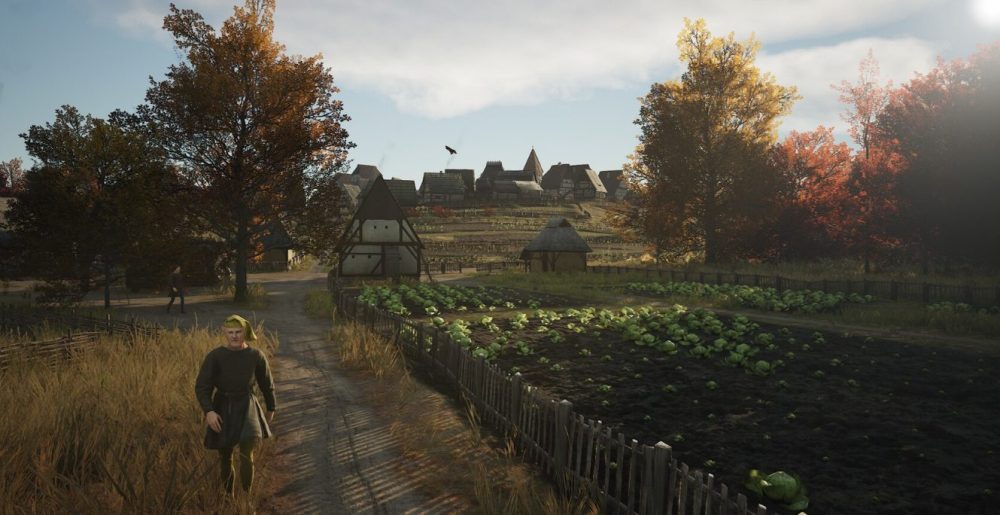
For creating a successful medieval village, a deep understanding of the natural resources available on the map in Manor Lords is crucial. Each sector of the map has five main types of resources: wild animals, berries, stone, clay, and iron, all of which are essential for expanding your settlement.
This article explains the significance of resource icons on the map and explores the potential yields from rich sources.
TIP
Detailed Overview of Resources in Manor Lords
You will encounter the following resources in each zone:
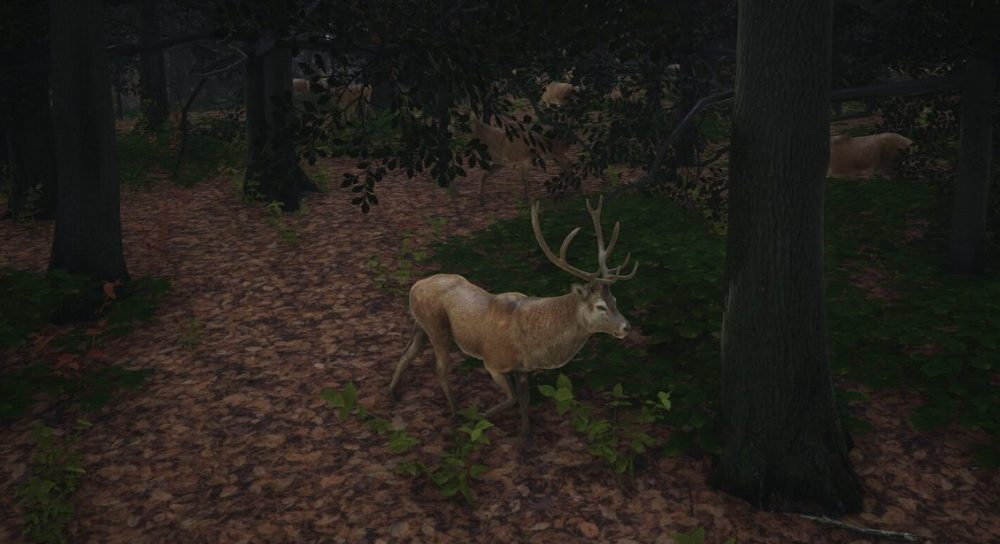
- Wild Animals: These animals are found in forested areas. When placing buildings on the map, the surrounding habitat zone of wild animals will turn red. Avoid building in this zone to avoid disturbing the animals. To gather resources, set up a Hunting Camp outside the red zone, allowing hunters to effectively gather meat and hides.
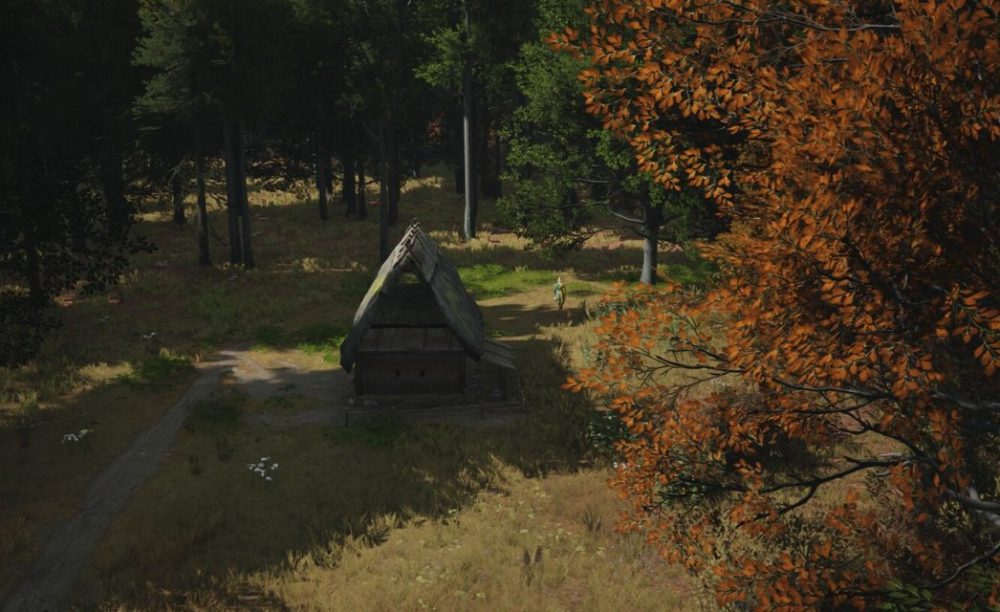
- Berry Bushes: Located in forest areas, these berry fields consist of clusters of bushes. Leaving these bushes undeveloped ensures the preservation of berries. Set up a Gatherer’s Hut near the bushes for efficient collection, providing an important food source in the early stages of the game. Although berry resources regenerate every spring, they can be depleted.
- Stone Deposits: These resources are essential for construction. Initially, they may not be a priority as early structures are built from wood, but eventually, you will need to place a Stonecutter’s Camp near the deposits to access this resource. Note that stone is a limited resource, and when depleted, the quarry will disappear. If more stone is needed, it can always be imported through a trade post.
- Clay Sites: Over time, as you begin constructing industrial buildings, the importance of clay grows. Used for making tiles, clay is a non-renewable resource.
- Iron Mines: Typically the last resource to be exploited, requiring two industrial buildings—a blast furnace and a forge—for processing. Iron is also vital for producing weapons and armor. Like stone and clay, iron mines will eventually be depleted.
To locate these five resources in your starting zone and neighboring areas, use the game map and zoom in.
NOTE
Hovering over the resource icons will show the size of the deposits
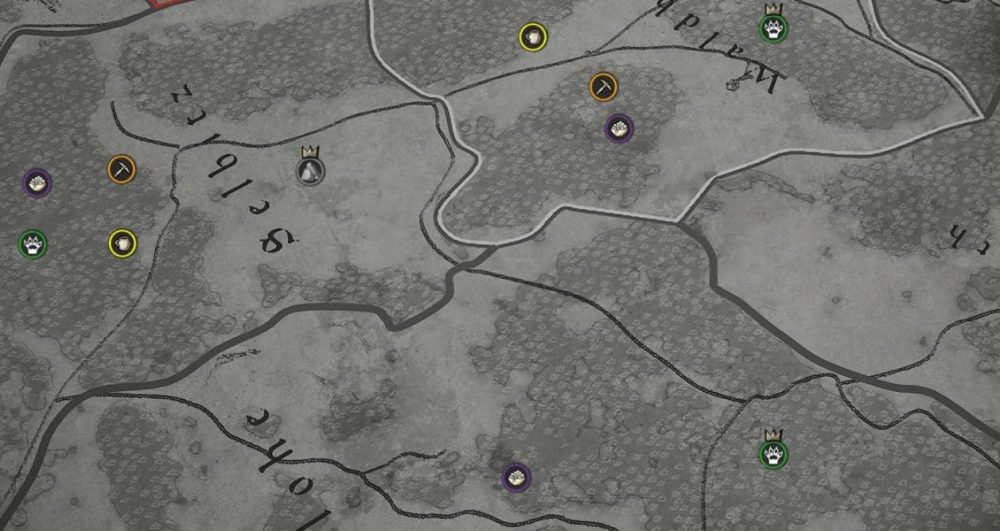
Resource Icons on the Map
In addition to these five mapped resources, also take note of three additional natural assets: forests, fertile fields, and groundwater. Forests are clearly visible, but checking soil fertility requires opening the construction menu and selecting overlays on the right side of the screen. Grow crops like barley or rye only in green zones! As for groundwater, which turns blue when selecting the "well" building, ensure your well is placed in a blue-marked area.
Rich Resource Deposits
If you are lucky, you may spot a small crown icon on the resource icon, indicating a "rich deposit." Generally, rich deposits contain more resources compared to standard ones. Here is a comparison of the amounts of resources you can expect from standard and rich deposits:
While the numbers of wild animals and berries are fixed, indicating their maximum capacity, the sizes of stone, ore, and iron deposits can vary. At the start of your game, it is advisable to compare your nearest deposits with these figures to assess the quality of your resources on the map.
TIP
Enjoyed reading the article? Visit our Blog section to learn even more interesting things about your favorite games! Play together with GODLIKE.
Read Next
-
What is VPS(Virtual Private Server)?
VPS hosting powers millions of apps and communities because it gives you dedicated resources without the cost of a whole machine. Unlike shared hosting, a virtual server managed by a VPS hosting provider runs on…
-
Minecraft Shelves Guide: Recipe, Storage, Powered Loadouts
In best Minecraft server hostings shelves are a new, display‑first way to keep essentials within arm’s reach. Think of them as tidy, wall‑mounted cubbies that always show what’s inside and, when powered, can swap gear directly…
-
Minecraft Curse Guide: All Curses & Effects
Key Takeaways: Minecraft Curse Guide Curses are negative enchantments in Minecraft that apply penalties instead of bonuses, creating unique gameplay challenges and risks. The game currently includes two main curses — Curse of Binding and…


